Beginner’s Guide to Hand-Painting T-Shirts: From Blank Canvas to Wearable Art
Hand-painting t-shirts is more than just a craft—it’s a way to infuse everyday clothing with personal stories, vibrant colors, and unique designs. Whether you’re looking to customize your wardrobe or create thoughtful gifts, starting with the basics can transform a simple cotton tee into a statement piece. In this guide, we’ll walk through the essential steps, tools, and tips to get you painting with confidence, even if you’ve never held a brush before.
Why Start with T-Shirts?
T-shirts make an ideal starting point for beginners due to their flat surface and forgiving fabric. Unlike more complex garments, they allow room for experimentation without overwhelming you.
- Accessibility: Affordable blanks are easy to find at local stores or online.
- Versatility: Designs can range from simple motifs to intricate patterns.
- Quick Results: A single session can yield a finished product ready to wear.
This simplicity builds momentum, helping you see progress fast and stay motivated.
Gathering Your Materials
Before diving in, assemble a beginner-friendly kit. Focus on quality items that won’t frustrate you mid-project.
Essential Tools:
- Fabric paints (acrylic-based for durability).
- Soft-bristle brushes in various sizes.
- Plain cotton t-shirts (pre-washed to remove sizing).
- Cardboard or plastic inserts to prevent bleed-through.
- Painter’s tape for clean edges.
Optional Add-Ons:
- Stencils for guided designs.
- Fabric markers for fine details.
- A palette for mixing colors.
Remember, start small—invest in a basic set and expand as you gain experience.
Step-by-Step Process
1. Prepare Your Workspace
Set up in a well-lit, ventilated area. Lay down newspapers or a drop cloth to protect surfaces. Insert cardboard inside the t-shirt to keep the fabric taut and prevent paint from seeping to the back.
2. Sketch Your Design
Begin with pencil sketches on paper. Transfer lightly onto the fabric using a washable marker. For symmetry, fold the shirt and trace half the design.
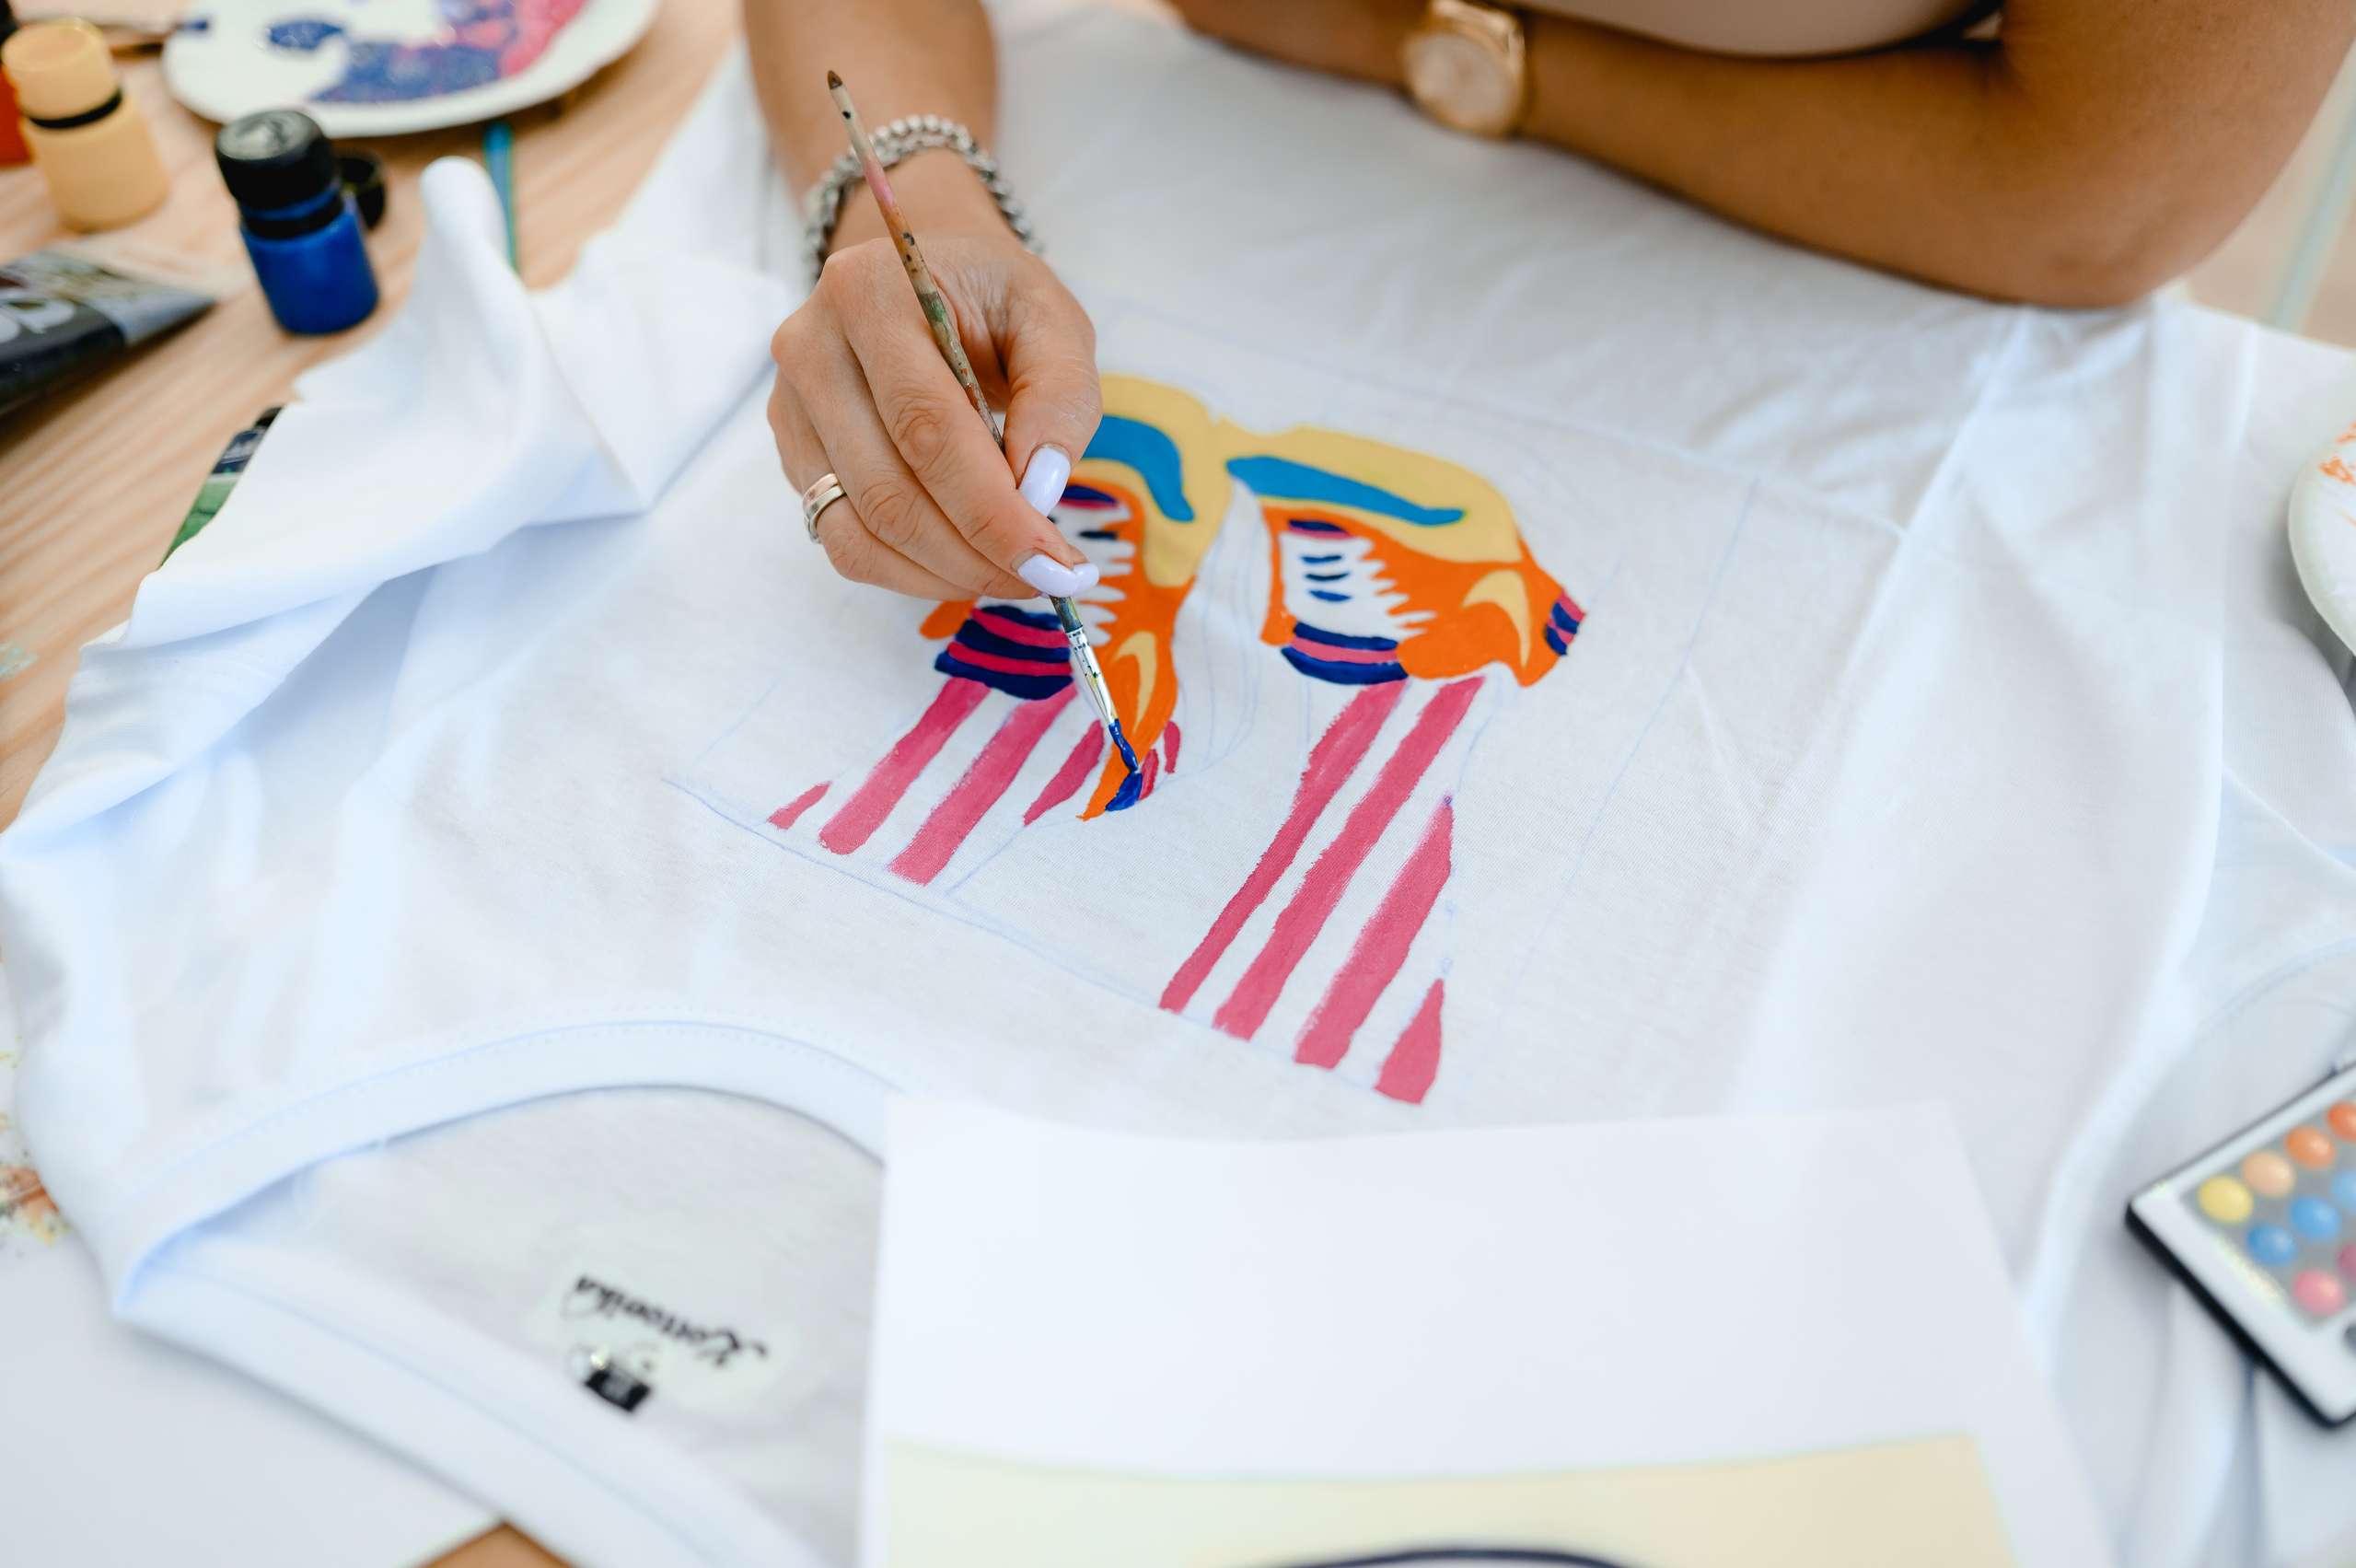
3. Apply the Paint
Mix paints if needed for custom shades. Use thin layers to avoid cracking—fabric paint should feel flexible when dry.
- Start with base colors, letting each dry before adding details.
- Blend edges for smooth gradients.
- Experiment with techniques like dry brushing for texture.
4. Set and Cure
Once painted, let it air dry for 24 hours. Heat-set with an iron (cotton setting, no steam) for wash-fastness. Follow paint instructions for best results.
Common Mistakes and How to Avoid Them
Every beginner stumbles, but learning from pitfalls accelerates growth.
- Overloading Paint: Too much leads to stiff fabric. Solution: Thin with water or medium.
- Bleeding Colors: Happens on unprepared fabric. Fix: Always pre-wash and use barriers.
- Uneven Designs: From rushing. Tip: Practice on scraps first.
Patience is key—view errors as part of the learning curve.
Inspiration for Your First Projects
Draw from everyday life: nature motifs, quotes, or abstract patterns. Online communities offer endless ideas, but make them your own.
Final Thoughts Hand-painting t-shirts opens a world of creativity where mistakes become unique features. With practice, you’ll move from basic doodles to professional-level art. Grab your brushes and start today—your first masterpiece awaits.